Have you ever experienced a situation where you were asked to perform a show and when you walked on the floor you panicked because the floor was as slippery as ice? You are not alone.
Hardwood floors at ballroom dance studios, competitions, or social dances are terrible for serious ballroom dancers. Just look around the next time you attend a ballroom competition – everybody is putting water or oil on their dance shoes because they are desperately looking for more friction.
Although the problem is so widespread, nobody seems to be doing anything about it other than ruining their shoes with water and oil. Why can’t we have a separate pair of shoes that are intended for slippery floors? Golfers have different golf clubs for different shots and dancers should also have multiple shoes for different floors.
In this article, we will show you how to fix your soles so that they have more grip and friction for slippery floors.
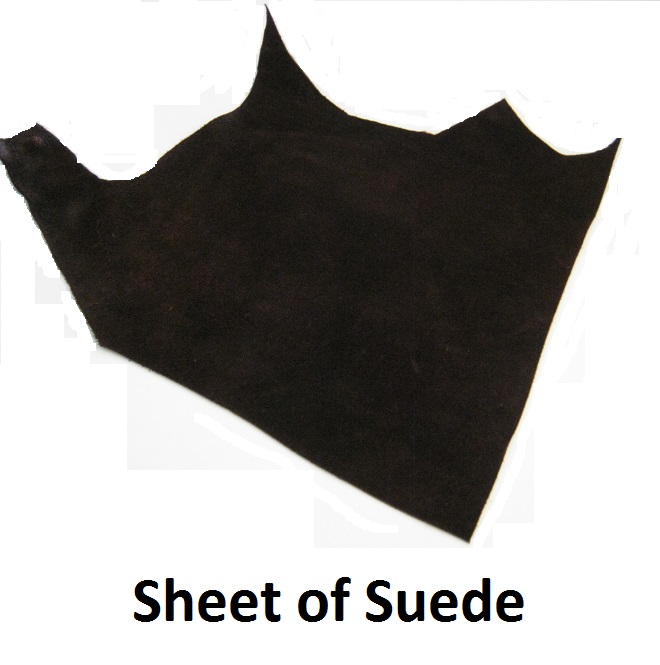
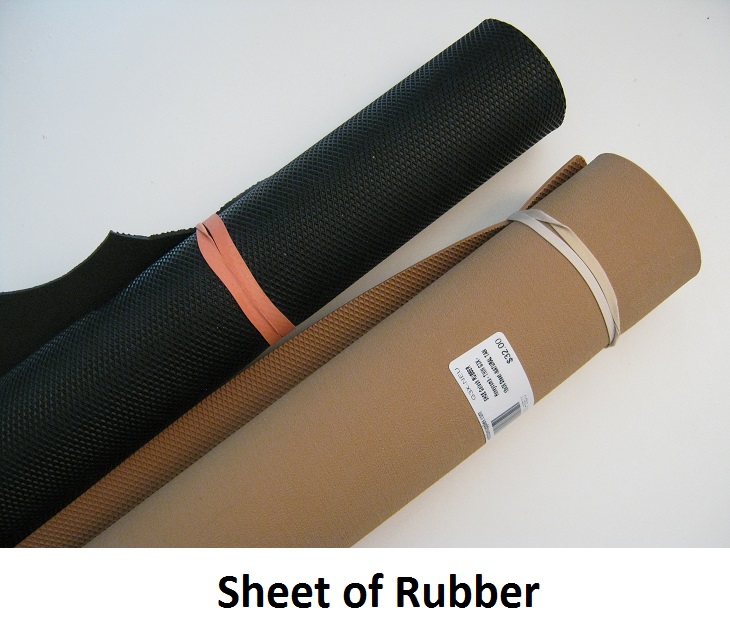
The materials that you will need are a sheet of suede, a sheet of rubber and some glue suitable for both leather and rubber.
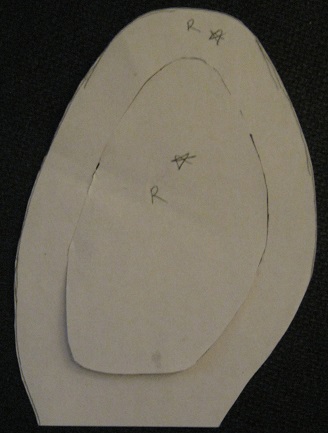
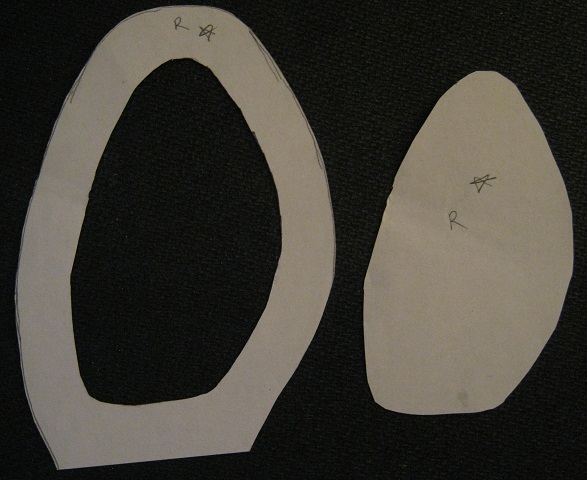
First, make a pattern by tracing the outer edge of the front half of your shoe. Then, divide the pattern into two parts by measuring in approximately ½” to ⅝” from the outer edge and cutting along this line.
Use this outer portion of the pattern to cut a piece of suede. Use the inner portion to cut a piece of rubber. Then, place the rubber piece inside the suede. It works best when the two pieces fit snugly together, which happens when you err on the side of making the pieces slightly larger than the pattern. You can always stretch the suede a bit and use your fingers to work the rubber inside of the outer suede piece.
Once you have fit the rubber inside of the suede, use electrical tape to hold them together. Then, glue them onto the sole of the shoe. Follow the instructions for whatever type of glue you are using (you may have to wait 24 hours depending on the type of glue), and after the glue is dry, remove the electrical tape. Any residue from the tape will brush off with your shoe brush or wear off in a day or so once you start using them. When you are done, you can trim off any excess suede that is along the outer edges of the shoe.
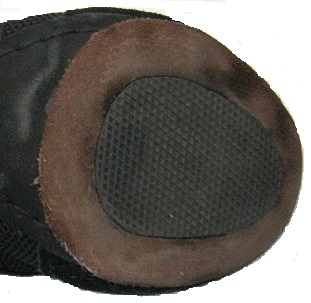
Here is a finished sole.
This can be done on men’s and women’s shoes.
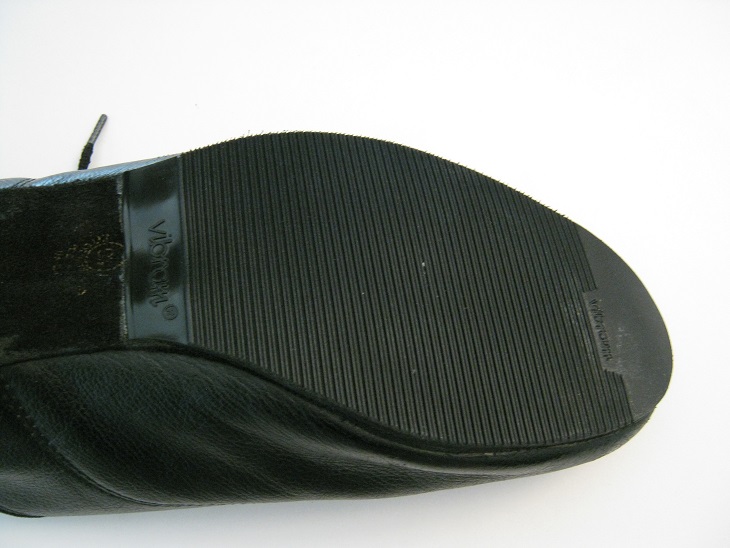
You might ask, “Since combining rubber with suede sounds like a lot of work, why not just apply only the rubber?” We tried to do that as shown here.
The problem is that if you apply rubber to the entire sole, it will be too much. When dancing, you must keep pressure with the floor by dragging the top or inside edge of the toe on the floor. This is the part of the sole that needs suede, not rubber. Rubber will make you trip. You want rubber to help stop you when turning or changing directions on slippery floors, and therefore, the rubber belongs in the middle of the ball of the foot (on the sole).
Another question that you might have is why not just glue on a patch of rubber in the middle of the sole without bothering with the suede on the outside since the original shoe already has suede? Well, you could, but the rubber part will stick out because of its thickness. By applying even layers of both rubber and suede, the new sole will be the same thickness all the way across.
After you complete your project, you will find it much easier to dance on slippery floors. You will be able to perform to your ability instead of holding back. With that being said, keep a few things in mind. These soles will be too sticky for well-maintained hardwood floors. However, this is no problem because you will simply use your regular dance shoes instead. Also, the rubber/suede soles may go from feeling excellent on particular days to not so great. The reason for this is because hardwood floors behave differently under varying degrees of humidity. If you dance on floors that are slightly slippery, then you may want to play with the size of the rubber by reducing it some. Sometimes, dust on the floor can make even rubber soles feel slippery, but this is easily remedied by just wiping it off with damp paper towel.
Types of Suede
Suede for shoes is relatively easy to find. It doesn’t have to be the exact thickness of the rubber. It can be slightly thinner and still work fine. Here is just one place you can buy suede from: http://www.brettunsvillage.com/leather/suede.html (scroll down to “Chrome Suede Splits! Dance Shoe Splits!” which is about ¾ of the way down the page).
Types of Rubber
There are a variety of types of rubber available on the market (search for rubber sheets), but here is a link to one kind: http://www.wardrobesupplies.com/products/golosh-dance-rubber-sheet-18×36-thin-honeycomb. Note that some types of black rubber can leave black marks on the floor during the first few days of use. This particular link includes a neutral color rubber, which does not leave black marks.
Types of Glue
Again, there are many types of glue available. Make sure you use one that says it works on both leather and rubber. Some glues work immediately, while others require you to apply to each surface and wait until it becomes tacky. Most of them need a full 24 hours to dry completely, so you will need to plan ahead so you can have your shoes ready when you need them. Here is just one kind of glue that you can use: http://www.homedepot.com/p/DAP-3-fl-oz-Weldwood-Original-Contact-Cement-00107/100195615. Another popular one for shoe soles is Barge Cement: http://www.wardrobesupplies.com/products/barge-cement.
Note: These links are included just for your information. We are not affiliated with these businesses and are not including these links as a kind of advertisement. There are many types of suede, rubber and glue that can be used.

